
How to move everything from your old phone to a new one
Almost all of it comes across, and the phone does nearly all the work. A guide to transferring data for every move: iPhone to iPhone, Android to Android, and between the two.
By the Savvoo desk · · 11 min read
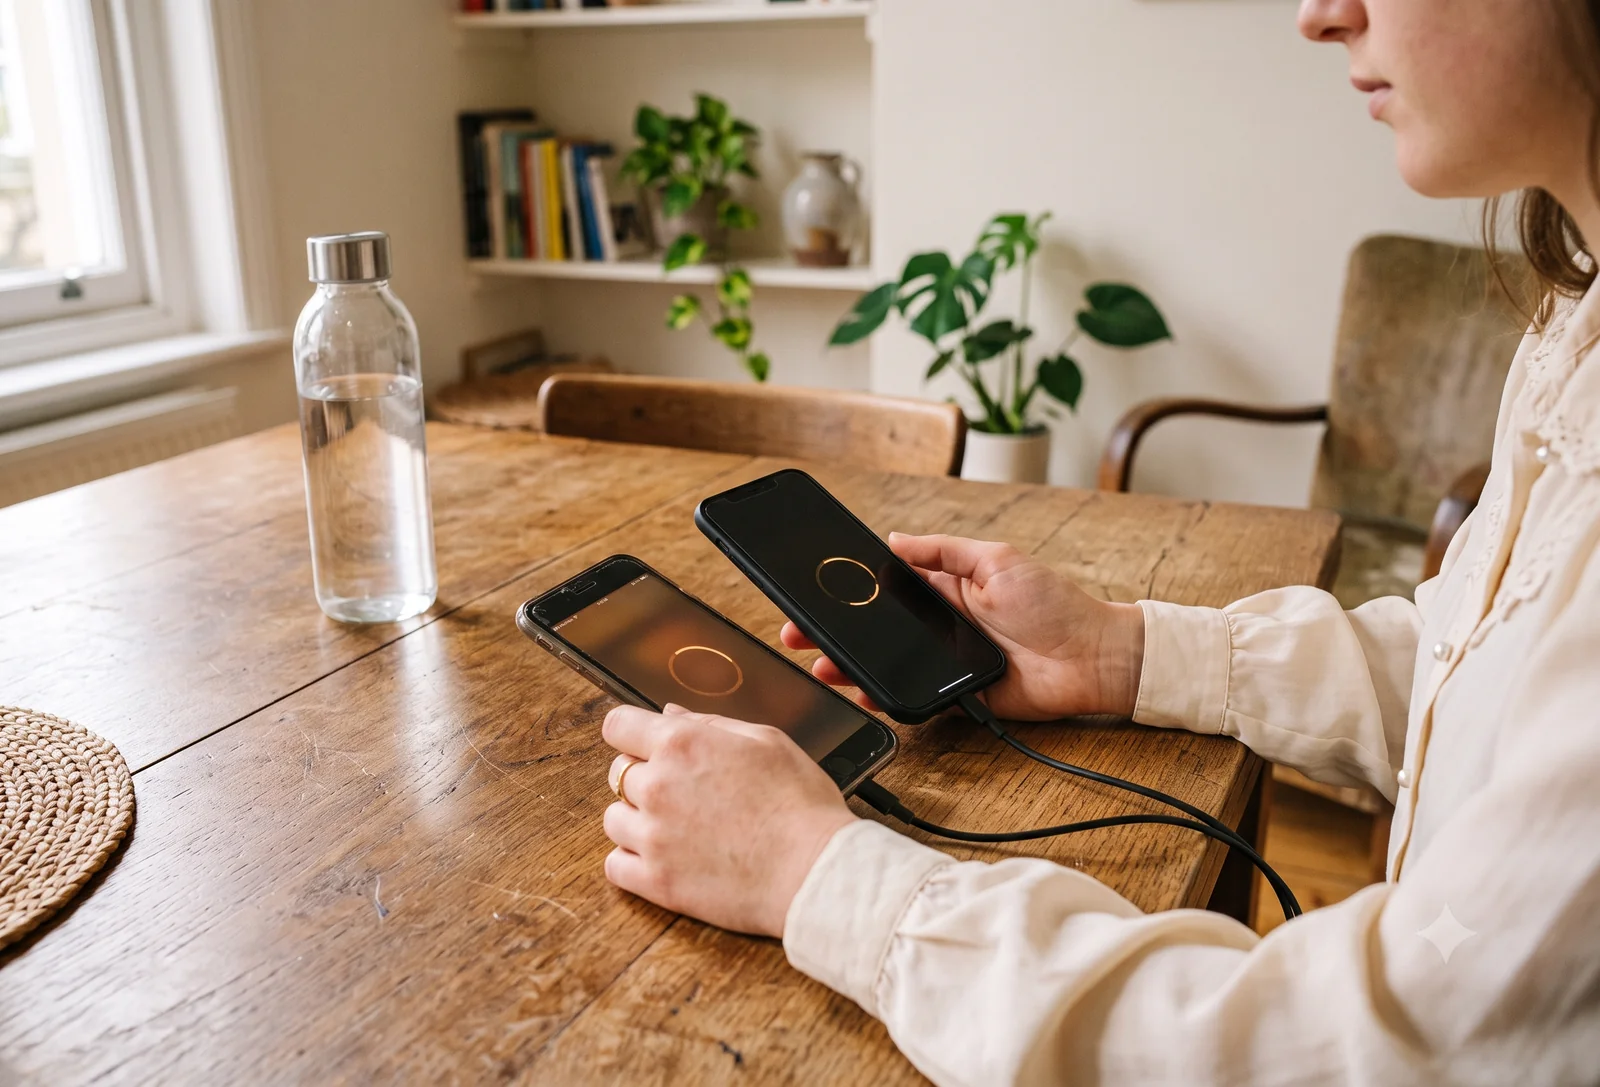
If you're worried about losing your photos, your messages, or years of contacts, take a breath. Almost all of it comes across to the new phone, and the phone itself does nearly all the work. Your job is mostly to start it off, then sit back and let it run. People expect this to be the hard part of a new phone. It's usually the part you watch happen.
When you buy a phone new in a shop, someone behind the counter does this bit for you. Buy a refurbished one and that person isn't there, so it can feel like you're on your own with it. You're not. Think of us as the person at the counter, walking you through it.
Here's what you're in for, so there are no surprises. There's a little preparation that's the same for everyone, then one section for your particular move, a note on your phone number and SIM, and a quick check at the end. Set aside anywhere from ten minutes to an hour, mostly depending on how many photos and videos you're carrying across. Once it's running you're really just waiting, and you can get on with something else while it works.
Two things that look alarming and are completely normal, so you don't panic mid-transfer. The screen on either phone may go dark to save battery while it works. Your data is fine. Just tap the screen and it wakes back up, still going. And the new phone may restart itself once or twice to finish setting things up. That's meant to happen, not a sign something broke. Leave it to do its thing.
One thing genuinely worth getting right, because it's the one that catches people out: start the transfer while you're setting up the new phone, not after. On most moves the easy tool only runs during that first setup. Come to it after you've finished, and you're often into resetting the phone and starting over. So if your new phone is still in the box, you're in the perfect spot. Let's go.
This guide is for phones. If you're moving between computers, that's a different job with different tools, and we cover it separately in how to move everything from your old computer to a new one.
The part that's the same whichever phones you're holding
Before we split by your situation, a few things are true for everyone. Getting these right is most of what makes a transfer go smoothly.
Don't wipe or trade in your old phone yet. Not until everything is safely on the new one and you've checked it. This sounds obvious, and it's still the mistake people most regret. Your old phone is your backup until you've confirmed the move worked.
Charge both phones first, and use a cable for a big move. Most transfers can go wirelessly, and for a few hundred photos that's fine. But if you're moving years of photos and video, a cable between the two phones is faster and steadier, and it keeps going if the Wi-Fi drops. It's the best option for a large transfer. The thing to plan for: a cable uses the same port you'd charge from, so the phones run on battery while it's connected. That's why you start a big move with both phones full. On a wireless transfer you can leave them on their chargers throughout.
Let it run, and don't worry when nothing seems to happen. This is the part that tests your patience, because a transfer can sit looking still for a while. That's normal. Don't pick the phones up, don't open other apps, and don't walk off with one of them. Watch the new phone rather than the old one, because the progress bar that matters is on the phone you're moving to. When it says done, it's done.
Now find your move.
iPhone to iPhone
This is the smoothest of the four, because both phones speak the same language. The tool is Quick Start, and it does nearly all of it for you.
Turn the new iPhone on and hold your old one right next to it. Within a few seconds a prompt appears on the old phone, asking if you want to use your Apple Account to set up the new one. Tap to continue, point your old phone's camera at the swirl of dots on the new screen the way you'd line up a photo, and the two connect. Enter your old phone's passcode on the new one, choose to bring your data across, and the new iPhone pulls everything from the old handset, apps and settings included. Keep both phones charging from the wall while it runs.
That's the transfer. To finish turning the new iPhone into your phone, the rest of first-time setup (signing in, Face ID, the screens after the transfer) is in how to set up your new iPhone.
Android to Android
If both phones run Android, the move is straightforward, and a lot of it is built right in. Samsung Galaxy phones use an app called Smart Switch; Google Pixel and most other makers use Google's built-in Switch to Android (sometimes just called the data restore step during setup). They work the same way: the new phone offers to copy your apps, photos, contacts, and messages from the old one, by cable or wirelessly, during setup.
The one thing to know is that the tool lives on the new phone and is usually already there, so you rarely have to download anything. If your two phones are different brands and the new one asks for a sender app on the old phone, it'll show you a QR code to scan that takes you straight to the right download. A cable is still the steadiest choice for a big library.
Because the new phone's own setup runs this for you, the full walkthrough sits with the device. If you're setting up a Galaxy, how to set up your new Samsung Galaxy covers it as part of setup.
Android to iPhone
This is one of the two paths where it's worth following the steps closely, because the timing matters. The tool is Apple's free Move to iOS app, which goes on your old Android phone.
The rule that matters most: Move to iOS only works during the iPhone's first setup. If you've already finished setting the iPhone up, the app can't do its guided transfer, and your options shrink to erasing the iPhone to start over or moving things by hand. So do this as part of setup, not after.
- On the new iPhone, go through setup until you reach the screen called Transfer Your Apps & Data. Tap From Android, then Transfer with App.
- On the old Android phone, install Move to iOS from the Play Store. If you don't want to go hunting for it, tap the QR code button on the iPhone and scan it with the Android camera. It opens the right download for you.
- Open Move to iOS on the Android phone, agree to the terms, and tap until it asks for a code.
- Enter the code the iPhone shows you. The two phones connect over a temporary private Wi-Fi network the iPhone creates. (Connecting them with a cable instead is faster and steadier for a big move.)
- On the Android phone, pick what to bring across, then tap to start.
- Leave both phones alone and close together until the bar on the iPhone finishes, even if the Android side already says it's done. If you're on Wi-Fi rather than a cable, keep them on their chargers while it runs.
Move to iOS brings over more than people expect: contacts, message history, your camera photos and videos, mail accounts, calendars, web bookmarks, voice memos, call history, and, if you use it, your WhatsApp chats and media. Some free apps come too, if they exist on both Android and the App Store.
A few things it does not move, so you know going in: music, books, and PDF files have to come across by hand. Paid apps need buying again on the App Store. And anything you log into, like Spotify or Netflix, keeps your subscription but needs you to sign in again on the new phone. None of this is lost, it just isn't automatic.
If you use WhatsApp, one note, because it trips people: your chats only come across if you tick WhatsApp on the transfer screen during the move. Skip it there and there's no easy way to bring the history over later, so leave it selected.
Once the transfer finishes, the rest of first-time setup is in how to set up your new iPhone.
iPhone to Android
This is the other path worth following step by step. The catch here is naming: there isn't one single tool. Samsung Galaxy phones use Smart Switch. Google Pixel and most other Android makers use Google's Switch to Android app. They do the same job, so use whichever one belongs to your new phone.
- Before you start, turn off iMessage on the iPhone, or texts from other iPhones may keep going to your old number instead of your new phone. On the iPhone, open Settings, tap Apps, tap Messages, and switch iMessage off. (If you've already wiped the iPhone, you can do the same thing later at Apple's deregister page.)
- On the new Android phone, open its transfer app: Smart Switch on a Galaxy, Switch to Android on a Pixel or most others. It usually offers itself during setup; otherwise you'll find it in Settings.
- Choose to receive data, and choose "from iPhone" or "from iOS."
- Connect the two phones with a USB-C cable for the fullest, steadiest move. (Most iPhones need the small adapter that often comes in the new phone's box.) You can do it wirelessly by signing into your iCloud account instead, but the cable carries more across, including things that aren't in your iCloud backup.
- Pick what to bring across, then let it run and leave both phones alone until the new phone says it's finished. On a wireless transfer, keep them on their chargers while it works.
The same honesty applies as the other direction. Your photos, contacts, messages, and calendar come across well. Apps don't move between the two stores, so you'll reinstall those from the Play Store, and most big-name apps are right there waiting. If you use WhatsApp, plan for it: moving chats from an iPhone to an Android phone works, but it's its own short step during setup, so don't wipe the iPhone until your chats show up on the new phone.
When the transfer's done, the rest of setting up the phone is in how to set up your new Samsung Galaxy.
Your phone number: moving your SIM
Your data is one thing. Your phone number is separate, and it lives on your SIM. There are two kinds, and which one you have decides how easy this is.
A physical SIM is the tiny card in a little tray on the edge of the phone. Moving it is the old familiar way: pop the tray out of the old phone with the pin that came in the box (a paperclip works), move the card to the new phone, and you're done. Two things to watch on a refurbished phone. It may use a different size tray, so check the card fits. And some newer phones, particularly in the US, have no tray at all, because they've gone eSIM-only. If yours has no slot, you're on an eSIM.
An eSIM is a digital version of the same thing, built into the phone, so there's no card to move. You transfer it instead. On most phones the option lives in Settings, under Network & Internet or Connections, then SIMs or SIM Manager, as an "Add eSIM" or "Transfer eSIM" choice. Many phones, especially near-stock Android ones, offer to move your number across automatically as part of setup. Whether that finishes on its own depends on your carrier: some hand it over instantly, others send you a QR code to scan or ask you to confirm in their app. If the automatic move doesn't appear or doesn't complete, contact your carrier and they'll send a QR code to activate it. One thing worth knowing so it doesn't alarm you: once the number activates on the new phone, it switches off on the old one. That's meant to happen.
What to check before you let the old phone go
Once the new phone says the transfer is done, spend five minutes confirming it before you wipe or trade in the old one.
Open your photos and check the count looks right, and that recent ones are there. Open your messages and your contacts. Sign into the handful of apps you actually rely on. Make a quick phone call to check your number is working on the new phone. And keep the old phone for a week or so even after that, because two-factor login codes for things like your bank or email sometimes arrive on the old phone, and you'll be glad it's still around the first time one shows up.
When everything checks out and you've lived on the new phone for a few days, then you can safely wipe the old one or send it off for trade-in.
Still choosing your next phone?
If you're reading this before you've actually bought the new phone, that's a different question, and we can help with it. Tell us how you use your phone and your budget, and our guide to the best refurbished phone for everyday use walks through the ones that fit [link: Guide 03].
Heads up: Savvoo earns a commission when you buy through our partners. It never influences which products we pick. You can read how we work [here].
Related, once live: [Best refurbished phone for everyday use] · [How to set up your new iPhone] · [How to set up your new Samsung Galaxy] · [What does refurbished actually mean?]
Sources
1 Quick Start is Apple's iPhone-to-iPhone transfer feature, available during first-time setup. It transfers apps, settings, contacts, photos, and messages directly between devices without requiring iCloud. Apple Support, 2025–2026.
2 Smart Switch is Samsung's built-in transfer app for Galaxy phones; it supports Android-to-Android and iPhone-to-Android transfers via cable or Wi-Fi. Google Pixel and most other Android phones use Google's built-in restore flow during setup. Samsung Support / Google Support, 2025–2026.
3 Move to iOS is Apple's free Android app for transferring contacts, photos, messages, accounts, and some app data from Android to iPhone. It must be used during iPhone first-time setup; running it after setup is complete requires resetting the iPhone and starting over. Apple Support, 2025–2026.
4 Transfer progress bars on both iOS and Android can display misleading time estimates, particularly at the start and end of large transfers. Leaving both phones undisturbed and connected throughout is the most reliable approach. Apple Support / Samsung Support, 2025–2026.