
How to set up your new Samsung Galaxy (whether you're coming from an iPhone or an older Android)
A step-by-step guide to setting up your new Samsung Galaxy, whether you're coming from an iPhone or an older Android. Around 30 minutes, using Smart Switch and the FRP check.
By the Savvoo desk · · 9 min read
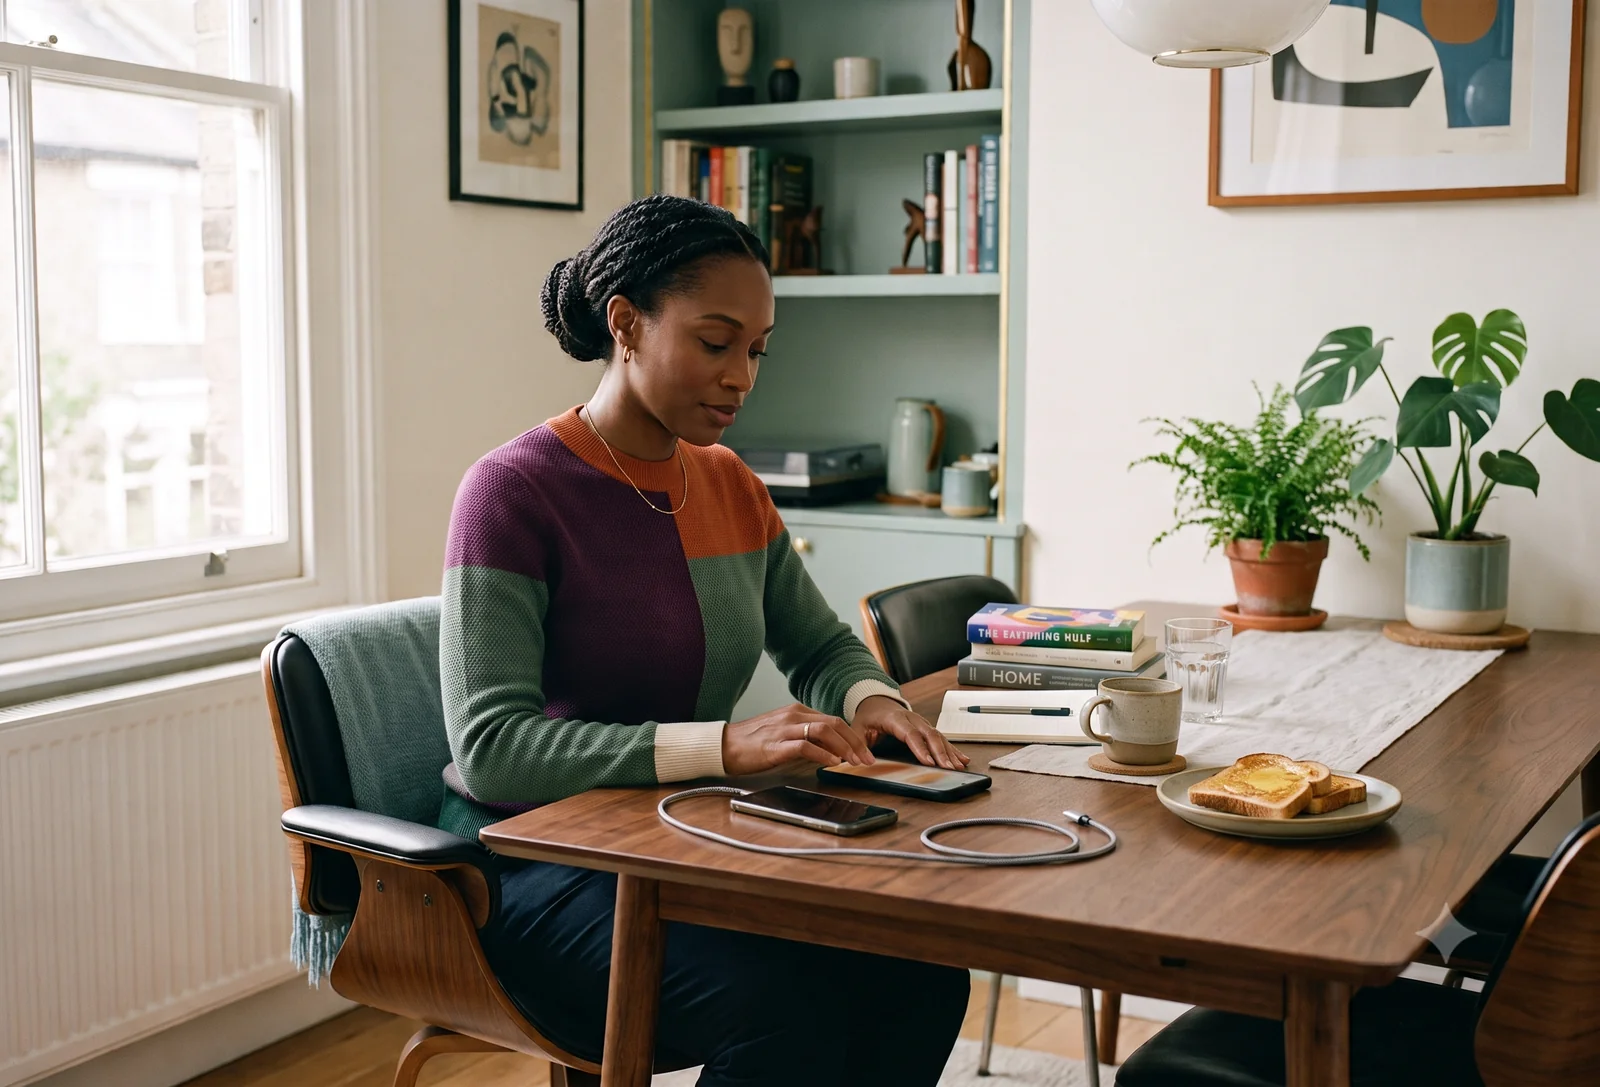
When you buy a phone new from a shop, someone behind the counter usually does the boring part for you. They sign you in, move your old stuff across, and hand it back ready to use. Buy a refurbished Galaxy and that person isn't there. The phone turns up in a box, you press the power button, and the rest is down to you. This guide walks you through setting up your new Samsung Galaxy start to finish.
That's where this guide comes in. Think of us as the person behind the counter.
Don't let the list of steps below put you off. There are a few of them, but they run in a sensible order, and the phone itself walks you through most of it. Set aside about 30 minutes, somewhere with good Wi-Fi. If you're bringing a lot of photos and messages over from an old phone, it can stretch toward an hour. And if your carrier uses an eSIM instead of a plastic SIM card, give yourself a little longer, because that's the part most likely to trip you up. We'll flag it clearly when we get there.
Every step has a rough time on it, so you know what you're in for and can pick up where you left off if you put the phone down partway through.
Haven't bought your Galaxy yet? This guide will still be here when you have. If you're still weighing up which one to get, start with our guide to the best refurbished phone for everyday use [link: Guide 03].
Step 1 · Get a few things ready · about 5 minutes
Five minutes of gathering now saves a lot of stopping and starting later. Have these to hand:
- Your Wi-Fi password. Setup needs an internet connection to finish.
- Your Google account. That's the email and password you use for Gmail, the Play Store, or anything Google. It's the main account a Galaxy runs on, so this is the one that matters most. If you've somehow never had one, you can create it free during setup.
- Your old phone, if you have one. Whether it's an older Galaxy, another Android, or an iPhone, keeping it nearby and charged makes moving your stuff across far easier. Don't wipe it or trade it in until everything's safely on the new phone.
- A USB-C cable, if you're moving a lot. For a big transfer, a cable is faster and steadier than Wi-Fi. For a small one, you may not need it at all. More on which to pick when we get to moving your data. Note: Samsung hasn't included a USB-C cable in the box with Galaxy S-series phones since the S21, so if you don't have one to hand, a standard USB-C cable from any brand will do.1
- Both phones charged up. A transfer can run for a while, and depending on how you do it the phones may be running on battery the whole time. Get both as full as you can before you start.
Step 2 · Turn it on, and watch for one thing · about 5 minutes
The power button is on the right-hand edge. Press and hold it for a few seconds until the Samsung logo appears, then let go. After a moment you'll reach a Welcome screen. Tap to begin, pick your language and region, and join your Wi-Fi network when it asks.
Here's the one thing to watch for on a refurbished phone, and it matters. As you go through setup, the phone should be building a fresh start that's about to become yours. What it should not do is ask you to sign in with someone else's Google account before it'll let you continue. If it does that, stop. It means the phone wasn't fully wiped by its previous owner, a security feature called Factory Reset Protection is still tied to their account, and you won't be able to use the phone until it's cleared.2
This is rare when you buy from a proper refurbisher, because wiping the phone correctly is part of the job they do, and it's one of the reasons we match you to vetted partners rather than random marketplace listings. But if it does happen, you're covered. Contact the seller and ask them to remove the device from their Google account, and if they can't sort it quickly, use your return window. A phone still locked to someone else's account isn't yours to use, so don't accept it.
If you don't hit that screen, you're fine. Carry on.
Step 3 · Move your stuff across · 15 to 60 minutes
This is the part people worry about most. The good news is that Samsung has a free tool called Smart Switch built right into the phone, and it does most of the lifting for you.3 How you use it depends on what you're switching from, so find your situation below. (The time varies a lot here. A phone with a few hundred photos is quick. A phone with years of photos and videos is the hour end of that range. Either way, you mostly just leave it running.)
First, a quick decision that the guides skip and you only learn by doing it. You can move your data wirelessly or with a cable between the two phones, and each has a trade-off. Wireless is tidy, and you can keep both phones charging while it runs, but it's slower, so it suits a few hundred photos more than years of them. A cable is faster and steadier for a big move, but while it's busy carrying your data it can't charge the phones at the same time, so start a big move with both phones full. Small move, go wireless. Big move, charge up and go wired.
Coming from a Samsung or Android phone
Open Smart Switch on your new Galaxy. It's already installed — find it in Settings, then Accounts and Backup, then Bring Data from Old Device. Choose whether you're using Wi-Fi or a cable, then follow the same steps on your old phone. Smart Switch shows you what it can carry across: apps, photos, contacts, messages, accounts. Tick what you want, start the transfer, and leave both phones alone until it's done.3
Once that's finished, the rest of the guide is the same for everyone.
Coming from an iPhone
Smart Switch handles this too, which surprises a lot of people. The process is the same: open Smart Switch on your new Galaxy, choose to transfer from an iPhone, connect the two phones with a cable, and follow the prompts.3
What comes across: contacts, photos, videos, messages, calendar, and some app data. What doesn't come across: paid iPhone apps (you'll need Android equivalents), iMessages (they won't arrive on the Galaxy, so let people know you've switched), and anything locked inside Apple's own apps.
One thing worth doing before you start: turn off iMessage on your old iPhone first. Go to Settings, then Messages, and switch iMessage off. If you skip this, some people may still send you iMessages that go to your old iPhone number rather than as regular texts to your new Android number. Takes ten seconds and saves a headache.
First smartphone, or you don't want to transfer anything
Skip Smart Switch entirely. Tap through setup without transferring, sign into your Google account, and your Galaxy starts fresh. You can always add your photos and accounts later from any device.
Step 4 · Three quick jobs once you're in · about 10 minutes
Your phone's working. Three quick things before you get lost in it.
Update to the latest software
A refurbished phone may have been sitting boxed for a while. Go to Settings, then Software Update, then Download and Install. Get it current before anything else.
Check the battery health
Go to Settings, then Battery, then Battery Protection or Battery Status (the exact wording varies by model). You want to see the health listed as Good or Normal. If something looks off compared to what the listing stated, raise it with the seller while you're inside your return window. Most people won't notice any difference from a new phone for the first year or two — battery degradation is gradual. But it's worth one quick check on day one.
Set up a fingerprint and screen lock
Go to Settings, then Biometrics and Security. A fingerprint plus a PIN or pattern keeps your phone yours if it's ever lost or stolen, and the fingerprint sensor makes unlocking fast enough that you'll stop noticing it.
A quick word on eSIM, if you got stuck
Most US carriers now activate your number digitally rather than through a plastic SIM card. During setup your Galaxy may handle this automatically, or it may send you to your carrier's app to finish. If your number isn't working after setup, call your carrier and ask them to activate the eSIM on your new phone — they'll walk you through it in a few minutes. Keep your old phone powered on until your number is confirmed working on the new one.
If your Galaxy model has a physical SIM slot, you may be able to simply move the SIM card from your old phone straight across. Check your model's specs to confirm.
That's the setup done
Battery life on a refurbished Samsung tends to settle in over the first three or four days as the phone learns your usage patterns. Give it that window before you judge it. If something genuinely seems wrong after a week of normal use — battery draining in hours, a feature that won't work — that's what your return window is there for. A good seller would far rather sort it early than have you unhappy later.
If you want to go deeper on moving specific files or accounts that didn't transfer across the first time, our full guide to transferring data between phones covers it [link: Guide 08]. And if you're still deciding whether refurbished is the right call, here's why a tested, warrantied refurbished phone is a safer buy than most people expect [link: Guide 06].
Heads up: Savvoo earns a commission when you buy through our partners. It never influences which products we pick. You can read how we work [here].
Related, once live: [Best refurbished phone for everyday use] · [How to transfer everything to a new phone] · [Is buying a refurbished phone safe?]
Sources
1 Samsung removed the USB-C cable from Galaxy S-series retail boxes starting with the Galaxy S21 (2021). A standard third-party USB-C cable works identically for Smart Switch transfers. Samsung / The Verge, January 2021.
2 Factory Reset Protection (FRP) is a Google security feature that locks an Android phone to the previous owner's Google account if the phone is reset without signing out first. Clearing it requires the original owner to remove the device from their account at myaccount.google.com. Google Support, 2025–2026.
3 Smart Switch is Samsung's built-in data transfer app, pre-installed on Galaxy phones. It supports transfers from Samsung, Android, and iPhone devices via cable or Wi-Fi. Samsung Support, 2025–2026.
4 Battery life on a refurbished Android phone typically stabilizes over the first three to four days as the system optimizes charging and usage patterns. This is normal behavior, not a defect. Samsung / Android Authority, 2025–2026.