
How to move everything from your old computer to a new one
Most of it can come across, and on the common paths a free tool does the heavy lifting. A guide to transferring data: Mac to Mac, Windows to Mac, Windows to Windows, and Mac to Windows.
By the Savvoo desk · · 9 min read
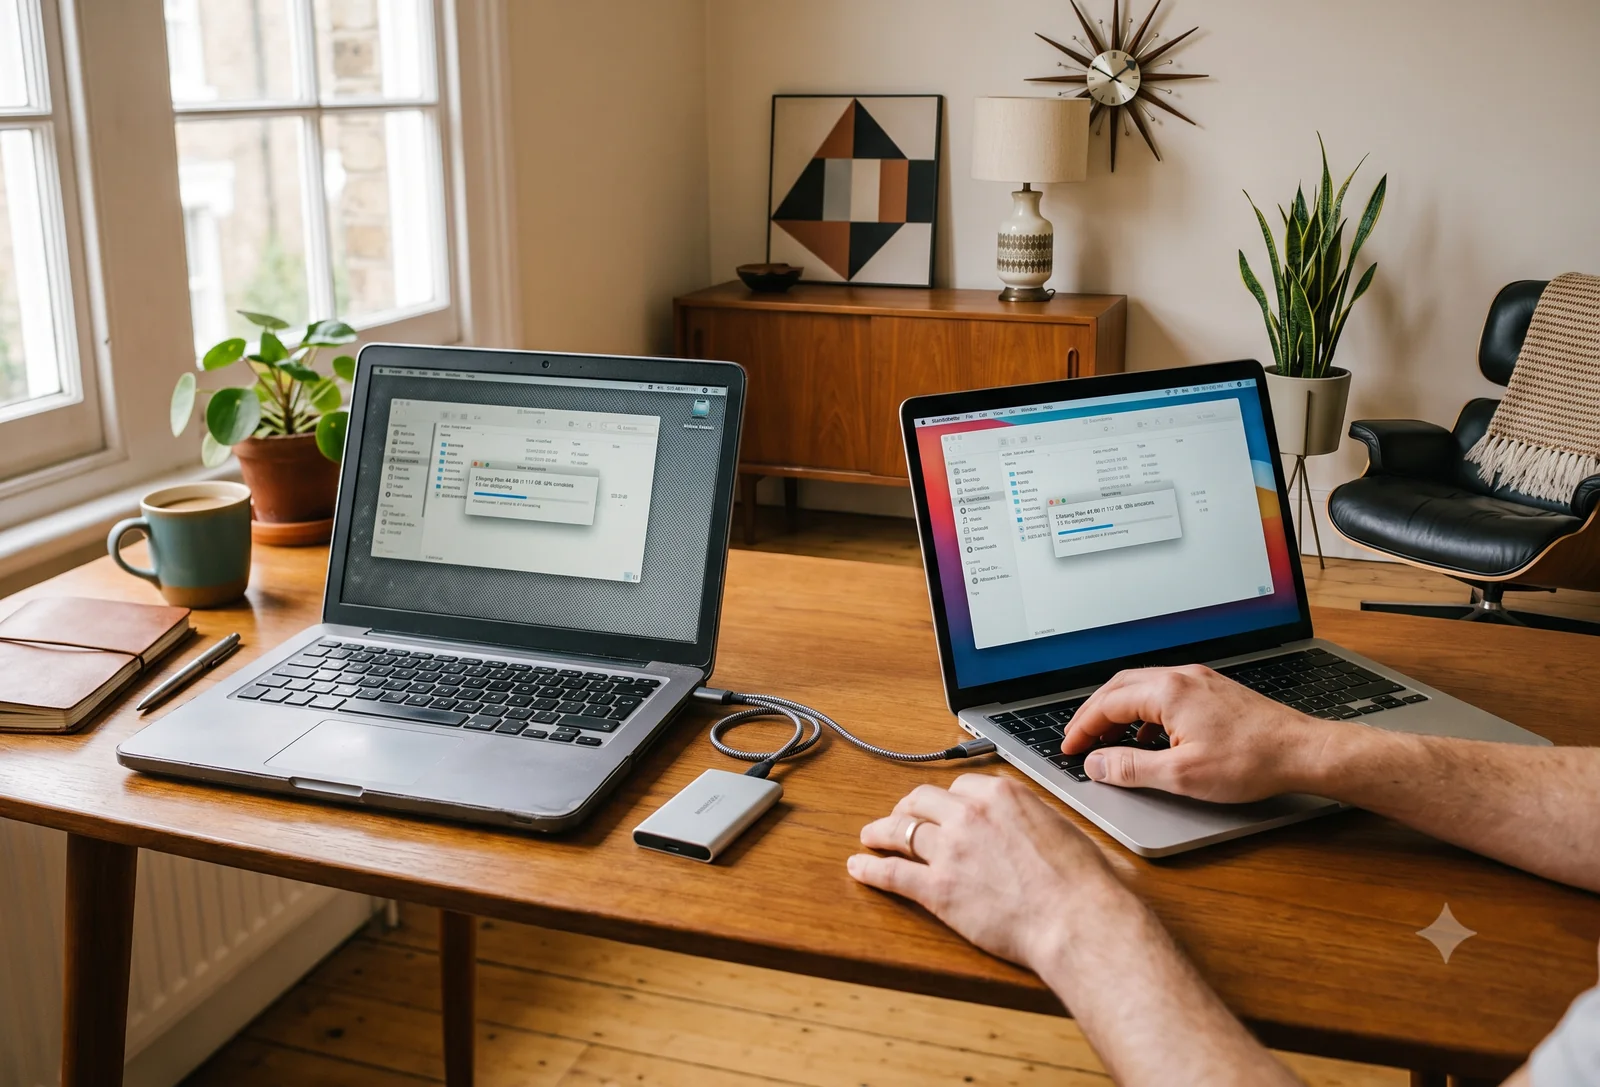
If you're staring at a new computer and worrying about how to get years of files, photos, and email off the old one, take a breath. Most of it can come across, and on the common paths a free tool does the heavy lifting while you wait. Your job is mostly to start it off and leave it running. The part people dread is usually the part they watch happen.
Buy a Mac at an Apple Store and a staff member will often move your files across for you. A few big retailers will do it for a fee. Buy a refurbished computer and that help isn't in the room, so it can feel like you're on your own with it. You're not. Think of us as the person at the counter, walking you through it.
Here's the shape of it, so there are no surprises. There's a little preparation that's the same for everyone, then one section for your particular move, and a quick check at the end. How long it takes depends almost entirely on how much you're carrying. A modest set of documents can be twenty minutes. A big photo, music, and video library can run for a few hours, so it's worth starting when you don't need the computer right away.
One thing that looks alarming and is completely normal: a large transfer can sit on "calculating" or look frozen for several minutes, then carry on by itself. Don't cancel it. Leave it be and let it finish.
This guide is for computers. If you're moving between phones, that's a different job with different tools, and we cover it separately in how to move everything from your old phone to a new one.
The part that's the same whichever computers you're using
Before we split by your situation, a few things are true for everyone.
Don't wipe or sell the old computer yet. Not until everything is safely on the new one and you've opened a few files to check. The old machine is your backup until you've confirmed the move worked.
Plug both computers into power. A transfer can run a long time, and you don't want a laptop dropping to sleep or running flat halfway through. Leave them both on the charger for the duration.
Wired is faster for a big move. Most transfers can go over Wi-Fi, and for a folder of documents that's fine. For a large library, connecting the two computers to the same network by Ethernet cable, or directly to each other, is faster and steadier. It matters more the more you're moving.
This is the moment to travel light. A move is the natural time to leave the junk behind. Before you start, take ten minutes on the old machine to clear out what you don't need: downloads you forgot about, duplicate photos, files from a project that ended years ago. Anything you want to keep but rarely touch is a good candidate for the cloud rather than the new machine. The payoff is real. Less to carry means a faster transfer and a new computer that starts clean instead of inheriting years of clutter.
Your programs are the thing that doesn't simply come across. This is the one expectation worth setting now. Your files, photos, email, and accounts move well. Your installed programs are a different matter. They get reinstalled on the new machine rather than carried over, and we'll say so plainly in each section. None of your actual work is lost. It's the apps themselves that you set up fresh.
Now find your move.
Mac to Mac
This is the smoothest path. The tool is Migration Assistant, which is already on both Macs, and it moves your documents, apps, accounts, and settings across together.
On the new Mac, Migration Assistant runs as part of first-time setup, so if you're setting it up now, choose to transfer "from a Mac" when it offers. If the new Mac is already set up, open Migration Assistant from the Utilities folder (or find it with Spotlight) on both machines and follow the prompts. Make sure both Macs are up to date and near each other with Wi-Fi on, pick what to bring across, and let it run. Because Mac apps run on the new Mac too, this is the one path where your programs really do come with you.
If you're setting the Mac up right now, the rest of first-time setup is in how to set up your new MacBook.
Windows to Mac
This is the path most people assume won't work, and it does. Apple makes a free tool for exactly this. It's the path worth following step by step, because there's one piece of preparation that catches people out.
The catch first, because it decides everything: the Windows tool has to match the macOS version on your Mac. A refurbished Mac often arrives a version or two behind, so you update the Mac first, then download the matching tool. Skip that and the transfer simply won't connect.
- On the Mac, update macOS first. Open System Settings, go to General, then Software Update, and install anything waiting. (This is also step one of setting the Mac up, covered in our MacBook setup guide.)
- On the Windows PC, download Apple's free Windows Migration Assistant, and get the version that matches your Mac's macOS. Apple's download page lists which version goes with which macOS. Install it and let it open.
- Connect both computers to the same Wi-Fi network, and turn off any antivirus, firewall, or VPN software on both for the duration, since those can block the connection. For a big transfer, an Ethernet connection between them is faster.
- On the Mac, open Migration Assistant from the Utilities folder (inside Applications), and choose to transfer "From a Windows PC."
- A code appears on both screens. Check they match, then continue. The Mac scans the PC and works out what it can bring over, which can take a few minutes.
- Pick what to move, then start it and leave both machines alone until the Mac says it's done.
What comes across: your documents, photos, music, email accounts, contacts, calendars, and browser bookmarks, sorted into the right places on the Mac. What doesn't: your Windows programs, because they don't run on a Mac. You'll find Mac versions of the big ones (browsers, Office, and the like) and reinstall those, but the files they open all came across.
Once the transfer finishes, the rest of setting up the Mac is in how to set up your new MacBook.
Windows to Windows
Microsoft builds this into Windows, and if you've been signing in with a Microsoft account, a lot of the groundwork is already done.
The easiest version uses Windows Backup, which quietly backs your old PC up to the cloud as you use it. When you set up the new PC and sign in with the same Microsoft account, it shows you your backed-up PCs and lets you pick which one to restore from. Choose the old machine and your files, settings, and personalizations come down on their own. If you haven't been backing up, you can open Windows Backup on the old PC first and let it run before you start the new one.
There's also a newer option that copies directly from one PC to the other over your home network, without going through the cloud. It needs the new PC on a recent version of Windows 11 (24H2 or later). To use it, open Windows Backup on the old PC, choose Transfer information to a new PC, and pair the two with the six-digit code it shows. Either route gets you to the same place, so use whichever your setup offers.
For anything that lives outside all this, an external drive or USB stick still works the old-fashioned way, and cloud storage like Google Drive or Dropbox does the same job over the internet.
Your programs get reinstalled rather than moved on every route. The good news is that Windows remembers the apps you had and leaves placeholders so you're not hunting them down one by one, and anything from the Microsoft Store reinstalls from your account. Still, make a short list of the ones you rely on before you let the old PC go. If you're setting the new PC up from scratch, our guide to how to set up a Windows 11 laptop walks through first-time setup.
Mac to Windows
This is the only path without a one-click tool, and it surprises people, but it comes down to direction. Apple's Migration Assistant moves data onto a Mac, including from a Windows PC, which is why the Windows-to-Mac move earlier in this guide is so easy. Going the other way, off a Mac and onto a PC, there's nothing equivalent. Apple's tool doesn't run in reverse, and Microsoft's transfer tools only move between Windows PCs. So this is a manual copy, which is simpler than it sounds, and it's exactly what Microsoft itself points you to.
The cleanest way is the cloud or a drive. If you use iCloud, you can reach your files and photos from the Windows PC by signing in at iCloud.com in a browser, or by installing iCloud for Windows, then downloading what you want. Otherwise, copy your Documents, Pictures, and other folders from the Mac onto an external drive or USB stick and copy them onto the new PC. As everywhere, your programs get reinstalled on the new machine rather than moved, so note down the ones you rely on first.
What to check before you let the old computer go
Once the transfer says it's done, spend five minutes confirming it before you wipe or sell the old machine.
Open a few documents to be sure they're really there and they open properly. Check your photos, and that recent ones made it. Open your email and confirm your accounts are signed in. Then go through the short list of programs you use and reinstall them, signing in as you go. Keep the old computer for a week or two even after that, just until you're sure nothing got left behind. It costs you nothing to wait, and it's the cheapest insurance there is.
When everything checks out and you've worked on the new computer for a few days, then you can safely wipe the old one or pass it on.
Still choosing your next computer?
If you're reading this before you've actually bought the new computer, that's a different question, and we can help with it. Tell us how you use your computer and your budget, and our guide to the best refurbished laptop for everyday use walks through the ones that fit [link: Guide 02].
Heads up: Savvoo earns a commission when you buy through our partners. It never influences which products we pick. You can read how we work here.
Related, once live: [How to move everything to a new phone] · [How to set up your new MacBook] · [How to set up a Windows 11 laptop] · [Best refurbished laptop for everyday use]
Sources
1 Migration Assistant is built into macOS and handles Mac-to-Mac data transfers, moving files, apps, accounts, and settings. On a Mac-to-Mac transfer it is the one path where installed applications genuinely transfer alongside documents and settings. Apple Support, 2025–2026.
2 Apple's Migration Assistant for Windows (free download from Apple Support) enables Windows-to-Mac data transfers over a shared Wi-Fi network. The Windows app version must match the macOS version on the destination Mac; updating macOS before running the transfer is the standard fix for connection failures. Apple Support, 2025–2026.
3 Windows-to-Windows transfers: Files can be moved manually via external drive, cloud storage (OneDrive, Google Drive, Dropbox), or network share. Installed programs must be reinstalled on the new machine; they cannot be copied across. Microsoft Support, 2025–2026.
4 Large file transfers over Wi-Fi can display inaccurate time estimates and may appear to pause or freeze; this is normal behavior. Cancelling mid-transfer may leave files in a partial state. Apple Support / Microsoft Support, 2025–2026.