
How to set up a new MacBook: a step by step guide
Setting up a new MacBook, Air or Pro, takes about 20 minutes. The one step that trips people up is your Apple Account. Sort that first and the rest is smooth.
By the Savvoo desk · · 11 min read
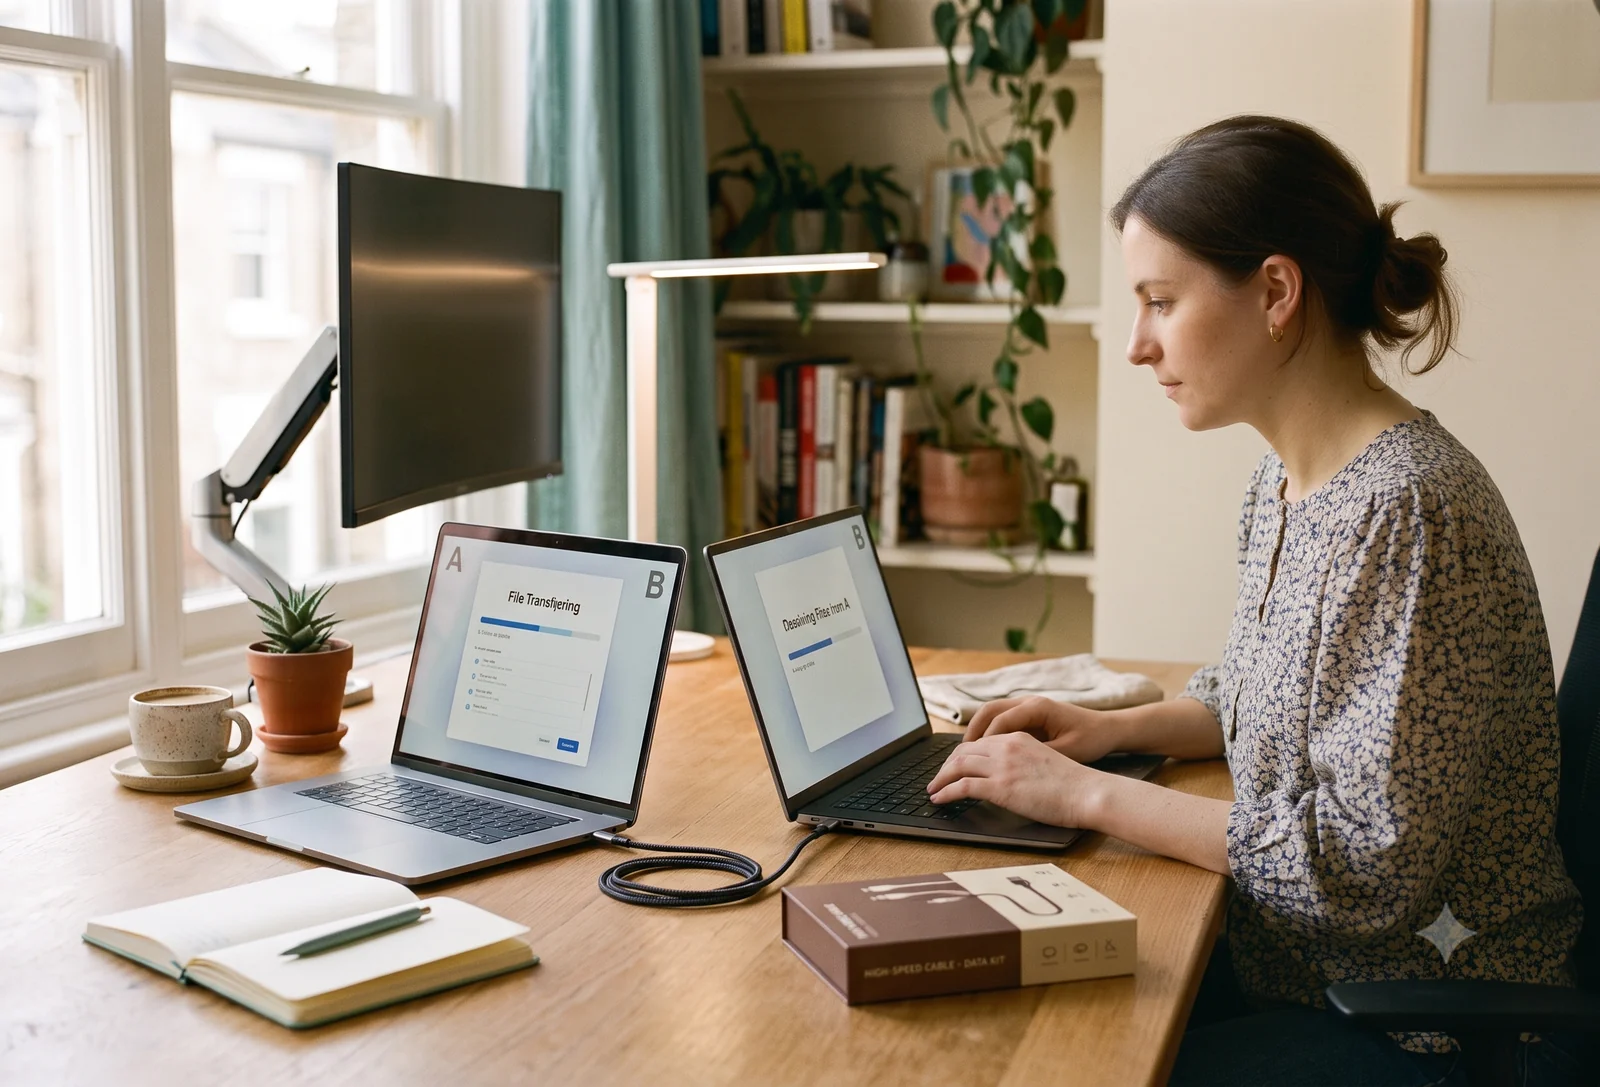
Setting up a new MacBook takes about 20 minutes, and most of it is just tapping "Continue." Compared to setting up a Windows laptop, it's genuinely easy. There's one step that trips up almost everyone, though, and it has nothing to do with the Mac itself. It's your Apple Account. Sort that out first and the rest is smooth.
This guide works for any MacBook, Air or Pro. The setup is the same for both.
Which kind of setup is this?
Most of what follows is the same for everyone. There's really only one step that changes depending on what you're coming from, and that's whether you move your old files across. Find yourself below so you know what to expect.
Coming to a Mac from a Windows PC. Almost everything here is the same as for anyone else. Your one extra decision is whether to bring your files over from the PC, which Apple has a free tool for. It works better than people expect. The honest version is in "Moving everything across" below.
Upgrading from an older Mac. The easiest path of the three. Your old Mac can hand everything to the new one, apps and settings included. Same "Moving everything across" section, first option.
Your first computer, or your first in a long time. You have the least to move, because you have nothing to bring across. You'll skip the migration step entirely, sign up for a new Apple Account, and start clean. We'll go a little slower for you where it counts, and tell you plainly which parts you can ignore.
Everyone reads the same spine from here. Jump to migration only if it applies to you.
Before you start: get two things ready
A MacBook setup goes smoothly when you have two things in hand before you open the lid: your Wi-Fi password and your Apple Account. Both are logins people often don't have ready, and either one will stall you on the setup screen. Sorting them first is the difference between a smooth 20 minutes and a frustrating one.
Your Wi-Fi password. The Mac needs to get online to finish setup, and it asks for your home network's password early. If you've never typed it out, and plenty of people haven't since the day the router was installed, find it now. It's usually printed on a sticker on the underside of the router. If you changed it and you have a phone already on that Wi-Fi, you can often see it in your phone's Wi-Fi settings. Have it written down before you start.
Your Apple Account. This is the login that ties your Apple devices together. You might still think of it as your iCloud or your Apple ID. It's the step that stops people, and in a very specific way: they can't remember the password, or they're not sure which email the account uses, often both at once. Then they're typing guesses, getting locked out, and the new laptop is stressful five minutes in.
Here's the trick that saves the whole thing: if you already own an Apple device, or even a PC with iCloud installed, the answer is already there. Any device you're signed into can show you the email the account uses, and reset the password in under a minute.
On an iPhone or iPad, open Settings and tap your name at the top. The email under your name is your Apple Account email. That's the one to use on the MacBook. If you're unsure of the password, tap Sign-In & Security, then Change Password, and set one you'll actually remember. The device may ask for its passcode, which is normal. Write the email and password down before moving to the laptop.
No other Apple device to check? You can reset the same account from the MacBook during setup, or from any browser at account.apple.com. It's a few more steps, covered at the sign-in screen below.
Never owned an Apple device? You don't have an Apple Account yet, and that's fine. You'll sign up for one during setup in about a minute, and you can skip the reset advice above.
The rest is simple: the charger in the box, and if you're moving from an old computer, that machine nearby and switched on.
Turning it on for the first time
Open the lid and the MacBook turns itself on. You don't need to find a power button. From here it walks you through a series of screens, and for most of them you're just confirming a sensible default.
It asks for your country or region, then the language. It connects to Wi-Fi, which is where the password you found earlier comes in. It may ask about Accessibility settings, which you can skip for now and set up properly later, covered further down. Then it reaches the screen that matters: signing in with your Apple Account.
Signing in (and what to do if you're stuck)
When the Mac asks for your Apple Account, type the email and password you sorted out earlier. If you did that step, this takes ten seconds and you can move on.
If you're stuck here, you're in good company, because this is where most people get stuck. Here's how to get past it.
If you don't know the password, look for "Forgot password?" on the sign-in screen and tap it. The Mac will walk you through a reset. If you have an iPhone or iPad signed into the same account, it can confirm the reset for you, which is the fastest way through.
If you don't know which email the account uses, that's the harder one, because the Mac can't guess it for you. The reliable fix is the one from earlier: check any device you're already signed into. No Apple device to check? Think about where Apple emails you receipts or "your iCloud storage is full" notices. That inbox is almost always the account.
And if it turns out you don't have an account at all, choose "Create new Apple Account" on the same screen and follow the prompts. It takes about a minute.
Once you're signed in, the Mac sets up Touch ID so you can unlock with your fingerprint, and asks a few yes-or-no questions about Siri and sharing diagnostics. None of these are permanent. Pick whatever you like and keep going.
Moving everything across from your old computer
Skip this section if this is your first computer. There's nothing to move, so sign in, let your Mac finish, and you're done.
For everyone else, once you're signed in the Mac offers to bring your files over. This is the step that takes real time and a bit of hands-on setup, so it helps to know what you're in for. The tool is called Migration Assistant. It does the heavy lifting. Your job is mostly to connect the two machines and wait.
Coming from another Mac. Migration Assistant moves your files, apps, and settings across. The two Macs need to be talking to each other, either on the same Wi-Fi network or connected directly with a cable. A wired connection is faster if you have the right cable, but Wi-Fi works fine for most people. Open Migration Assistant on both Macs, choose "from a Mac" on the new one, and follow the prompts.
Coming from a Windows PC. This is the one people assume won't work, and it does. One thing to do first, and it's the step that catches people: update your Mac's software before you start. Apple's Windows transfer tool needs a recent version of macOS to work, and a refurbished Mac may arrive a version or two behind. Run System Settings, "General," "Software Update" first (covered just below), then come back to this. Once the Mac is up to date, download Apple's free Migration Assistant for Windows and install it on the old PC. With it running on both machines and both on the same network, the Mac pulls your documents, photos, email, and contacts across. Two things worth knowing from having done this a few times: keep both computers plugged into power for the whole transfer, and don't trust the progress bar. A large transfer can sit on "calculating" or look frozen for several minutes and then carry on. Leave it alone and let it finish.
Starting fresh on purpose. If you'd rather not bring an old machine's clutter across, you don't have to. Sign into your Apple Account and your iCloud files, photos, and saved passwords come down on their own. This is the cleanest option if your old computer was slow or cluttered, and you can always run Migration Assistant later if you change your mind.
When your old computer holds more than the new one. This catches a lot of people. If the laptop you're moving from has a bigger drive than your new MacBook, everything won't fit, and Migration Assistant lets you choose what comes across. A sensible order: bring your documents first, since they matter most and take the least space. Then handle photos, video, and music as a separate job afterward, because those are what fill a drive. Large video and music libraries often live better on an external drive anyway, which keeps your new Mac fast and leaves you room to work. You don't have to solve all of this on day one. Get your documents over, get working, and sort the big media later.
A note on time. A migration can take anywhere from 20 minutes to several hours, depending on how much you're moving and whether you're on Wi-Fi or a cable. A large library over Wi-Fi is the slow case and can run for hours, so if you've got a lot to move, a cable is worth the effort. Start it when you don't need the laptop right away. It's the one part of MacBook setup that rewards patience.
The five minutes that make it yours
Once you're at the desktop, a few quick things make the Mac feel like yours and save you trouble later.
Update in two places, not one. First the system: open System Settings, find "General," then "Software Update," and let it install anything waiting. New machines often sit on a shelf for months, so there's usually an update or two. Then your apps: open the App Store, click "Updates" in the sidebar, and update everything listed. People often do the first and forget the second, then wonder why an app misbehaves.
The bar of icons at the bottom is the Dock. You can drag apps you don't use off it, and drag ones you do from the Applications folder onto it. If you're coming from Windows, the Dock is roughly your taskbar.
That's genuinely enough to start. You don't need to change every setting on day one. The Mac is usable as it comes, and you'll adjust things naturally as you go.
Make it easier to see, hear, and use
Apple builds a deep set of tools for making a Mac more comfortable to use, and they aren't only for people with a diagnosed disability. Plenty of people just find the text a little small or the sound a little quiet. They all live in one place: System Settings, then Accessibility. A few are worth knowing about on day one.
For your eyes, you can make text larger across the Mac, increase contrast so things stand out more sharply, and turn on Zoom, which magnifies part of the screen when you need a closer look. For your ears, the Mac can show live captions for spoken audio, and balance or boost sound to suit how you hear. For comfort using it, you can slow down the pointer, make the cursor bigger so it's easier to find, and adjust how the trackpad responds to a tap. None of this is permanent, and changing it doesn't mark your Mac in any way. It's just there to make the machine fit you, rather than the other way around.
There's a lot more here than one section can cover, and we'll go deeper in a guide of its own.
If something feels off in the first week
The first week is when you find out whether everything's right, so it's worth knowing what's normal and what isn't.
Battery life settles after a few days as the Mac finishes indexing your files in the background. If it drains faster than you expected on day one, give it three or four days before judging it. The fans staying silent is normal too — on a MacBook Pro they only spin up under heavy load, and on a MacBook Air there are no fans at all, so silence is always what you should expect. Either way, quiet is a good sign, not a fault.
If something genuinely seems wrong, a screen mark, a key that doesn't respond, battery that's clearly poor after a week of normal use, that's exactly what your return window is for. Don't sit on it. A reputable seller would far rather sort it out in the first two weeks than have you unhappy later.
If you're reading this because you're still deciding which Mac to get for yourself or someone else, that's a different question from setup, and we can help with it. Our guide to the best refurbished laptop for everyday use walks through which Mac fits which person [link: Guide 02].
Heads up: Savvoo earns a commission when you buy through our partners. It never influences which products we pick. You can read how we work [here].
Related, once live: [Best refurbished laptop for everyday use] · [What does refurbished actually mean?]
Sources
1 "Apple Account" is Apple's current branding for what was previously called Apple ID, renamed in 2024. Apple Support, 2024–2026.
2 Migration Assistant is built into macOS and handles Mac-to-Mac data transfers including apps, files, accounts, and settings. For Windows-to-Mac transfers, Apple provides a free Migration Assistant for Windows app; the Windows app version must match the macOS version on the destination Mac. Apple Support, 2025–2026.
3 macOS Software Update is accessed via System Settings > General > Software Update on macOS Ventura (2022) and later. On older macOS versions the path is System Preferences > Software Update. Apple Support, 2025–2026.
4 MacBook Air (M2, 2022) is fanless by design; it has no cooling fan and throttles under sustained heavy load to manage heat. The MacBook Pro (14-inch and 16-inch, M2 and later) includes active cooling fans that maintain full speed under sustained load. Apple Tech Specs / AnandTech, 2022–2026.
5 Spotlight indexing on a newly set-up Mac can cause elevated CPU usage and faster battery drain for the first one to three days as it builds its search index. This is normal behavior. Apple Support, 2025–2026.